Here's a new piece that was painted 95% of the way on the iPad. I used ArtStudio, a Jot Stylus Touch, and Pogo Sketch Pro.
Here's the step by step:
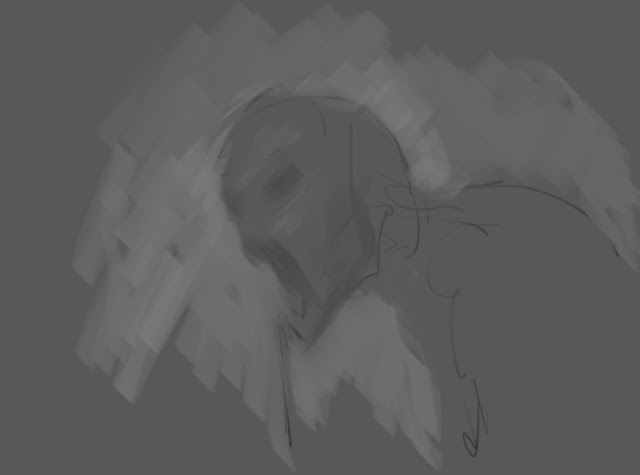
I started with a very vague thumbnail. The graphic shape of the creature with the line of blood dripping down really caught my eye. . . .
I skipped using line to solve the forms because I wanted to capture a simple graphic composition with a strong focus. I started with rendering lighting to define the form, working out from the blood which is the focal point. I used color dodge for bright hits of light, overlay for less bright lights, and soft light for subtle transitions of light and shadow. Sometimes a soft light layer almost feels like painting with watercolor or an oil glaze.
A step showing the rendering using the adjustment layers I mentioned above. Of course not all the rendering is in some type of adjustment layer. Sometime marks are just opaque made with a simple round brush or a brush squished so it has a strong edge.
After figuring out the anatomy of the torso it felt like the piece could use some color to pop the design of the blood. I love that ArtStudio has color blend layers. That makes adding color to a black and white piece extremely fast. First I paint bucket filled a new layer with green, then I switched the blend mode to color. To get the red blood I repeated the process, except I just painted over the blood with red.
I also added a layer of watercolor texture and then change the blend mode to color burn. When adding a texture layer to unify things, I usually just try different modes until something intrigues me.
And this point I decided instead of green and sickly I wanted blue and night. ArtStudio has Hue/Saturation/Lightness adjustments, so I used that option to quickly change my green layer to blue. I used a mask on the blue layer to erase out the blue on the skin. Later on though I decided I liked having his skin blend into the background so I simply turned off the mask. Masks are a huge time saver instead of erasing and repainting.

At this point I realized I was so obsessed with the details and hadn't looked at reference so my proportions were too far off. This is a fatal mistake working traditionally. But ArtStudio has a filter called Elastify that is similar to Liquify in Photoshop. They app developers also have a stand alone app called Elasticam that offers an even higher level of control. Basically where you paint deforms the image like it is made out of rubber or a thick liquid. It's a weird effect when used aggressively, but with subtle adjustments you can fix drawing errors. And I definitely had many on this! The mouth was too big, the neck was too thick. Even the top of the head was weird and a bit too flat.
After those fixes I got reference for the edge lighting and fixed how the light moved across the form. From there I got great feedback and in Photoshop fixed some light areas on the skin that were competing with the highlights of the blood. Always take the viewer to the focal point! These are fixes that could have been done on the iPad, but I didn't want to take time to transfer the file back and forth. Lastly, I finished it off with an unsharpen mask in Photoshop and a sky texture in the background.
I hope this gives you some ideas for your own way of working. Let me know if you have any questions.